
Here we are, already mid November. I had hoped to finish this room before the end of October. I had to be careful with the carpet, as it required one seam and there is a pattern. I made sure I measured twice and had a sharp blade on my cutting knife.
 If you plan to lay your own carpet, this is a really helpful link: http://www.diynetwork.com/how-to/how-to-install-carpet/index.html I was pleased to find out that my plan of laying the padding perpendicular to the orientation of the carpet was spot on. However, I had not thought to staple the pad’s seam, so I am glad that I read this tutorial first.
To cut and lay the actual rug, you measure the room at its longest point and add 3”. Take the carpet to a larger area (if possible) and notch the back at both sides at that length+3” point. With any luck, you will have help with this part. Roll the carpet back up with the backing facing out, and mark the point with the notches. Finish rolling, and take the carpet back inside. Roll it out flat and cut it to fit, again leaving about 3” extra next to the walls. If there are seams, make sure they are straight, put down a piece of seaming tape, heat the tape, and press the carpet seam into the tape. Place heavy objects on the seam as the glue dries. Seams should run parallel to the room’s main light source, with pile for both pieces headed in the same direction.

 Now start with one end of the room and attach the carpet to the tack strip. Work one side. Trim excess with a wall trimmer and then a stair tool to press cut edges under the baseboard trim. Stretch and attach to the strips at the opposite end of the room. Do the same for the two other sides. Sounds easy, looks easy, right? I rolled up my sleeves.
I immediately succeeded in wedging the carpeting in another room and being unable to move it, when I was trying to cut it. I called Andy and he came over the next day to help me with that. Then we took it to the sitting room (new room) and unrolled it. Since it had a repeating design (what was I thinking?!?) we had to make sure it was straight. That took some lifting and shifting. After we had it positioned, I stretched, tacked, and wedged, while Andy laid on the carpet (pressing out the wrinkles) and drank coffee (supervised). What a lucky girl I am! I am glad I had the knee pads, because without them I probably would not be able to walk today.
 The seam was tricky, and you are to make sure the nap of the fabric is the same for each piece of carpet, which I didn’t do, because my remnant wasn’t big enough. But I did make sure the carpet was cut at the same part in the pattern both sides of the seam. I did a good job there. I think as soon as I have more money and time, I will replace that small extra piece of carpet with the same vinyl plank flooring I want to put in the bathroom upstairs, so that carpet and its seam will go.
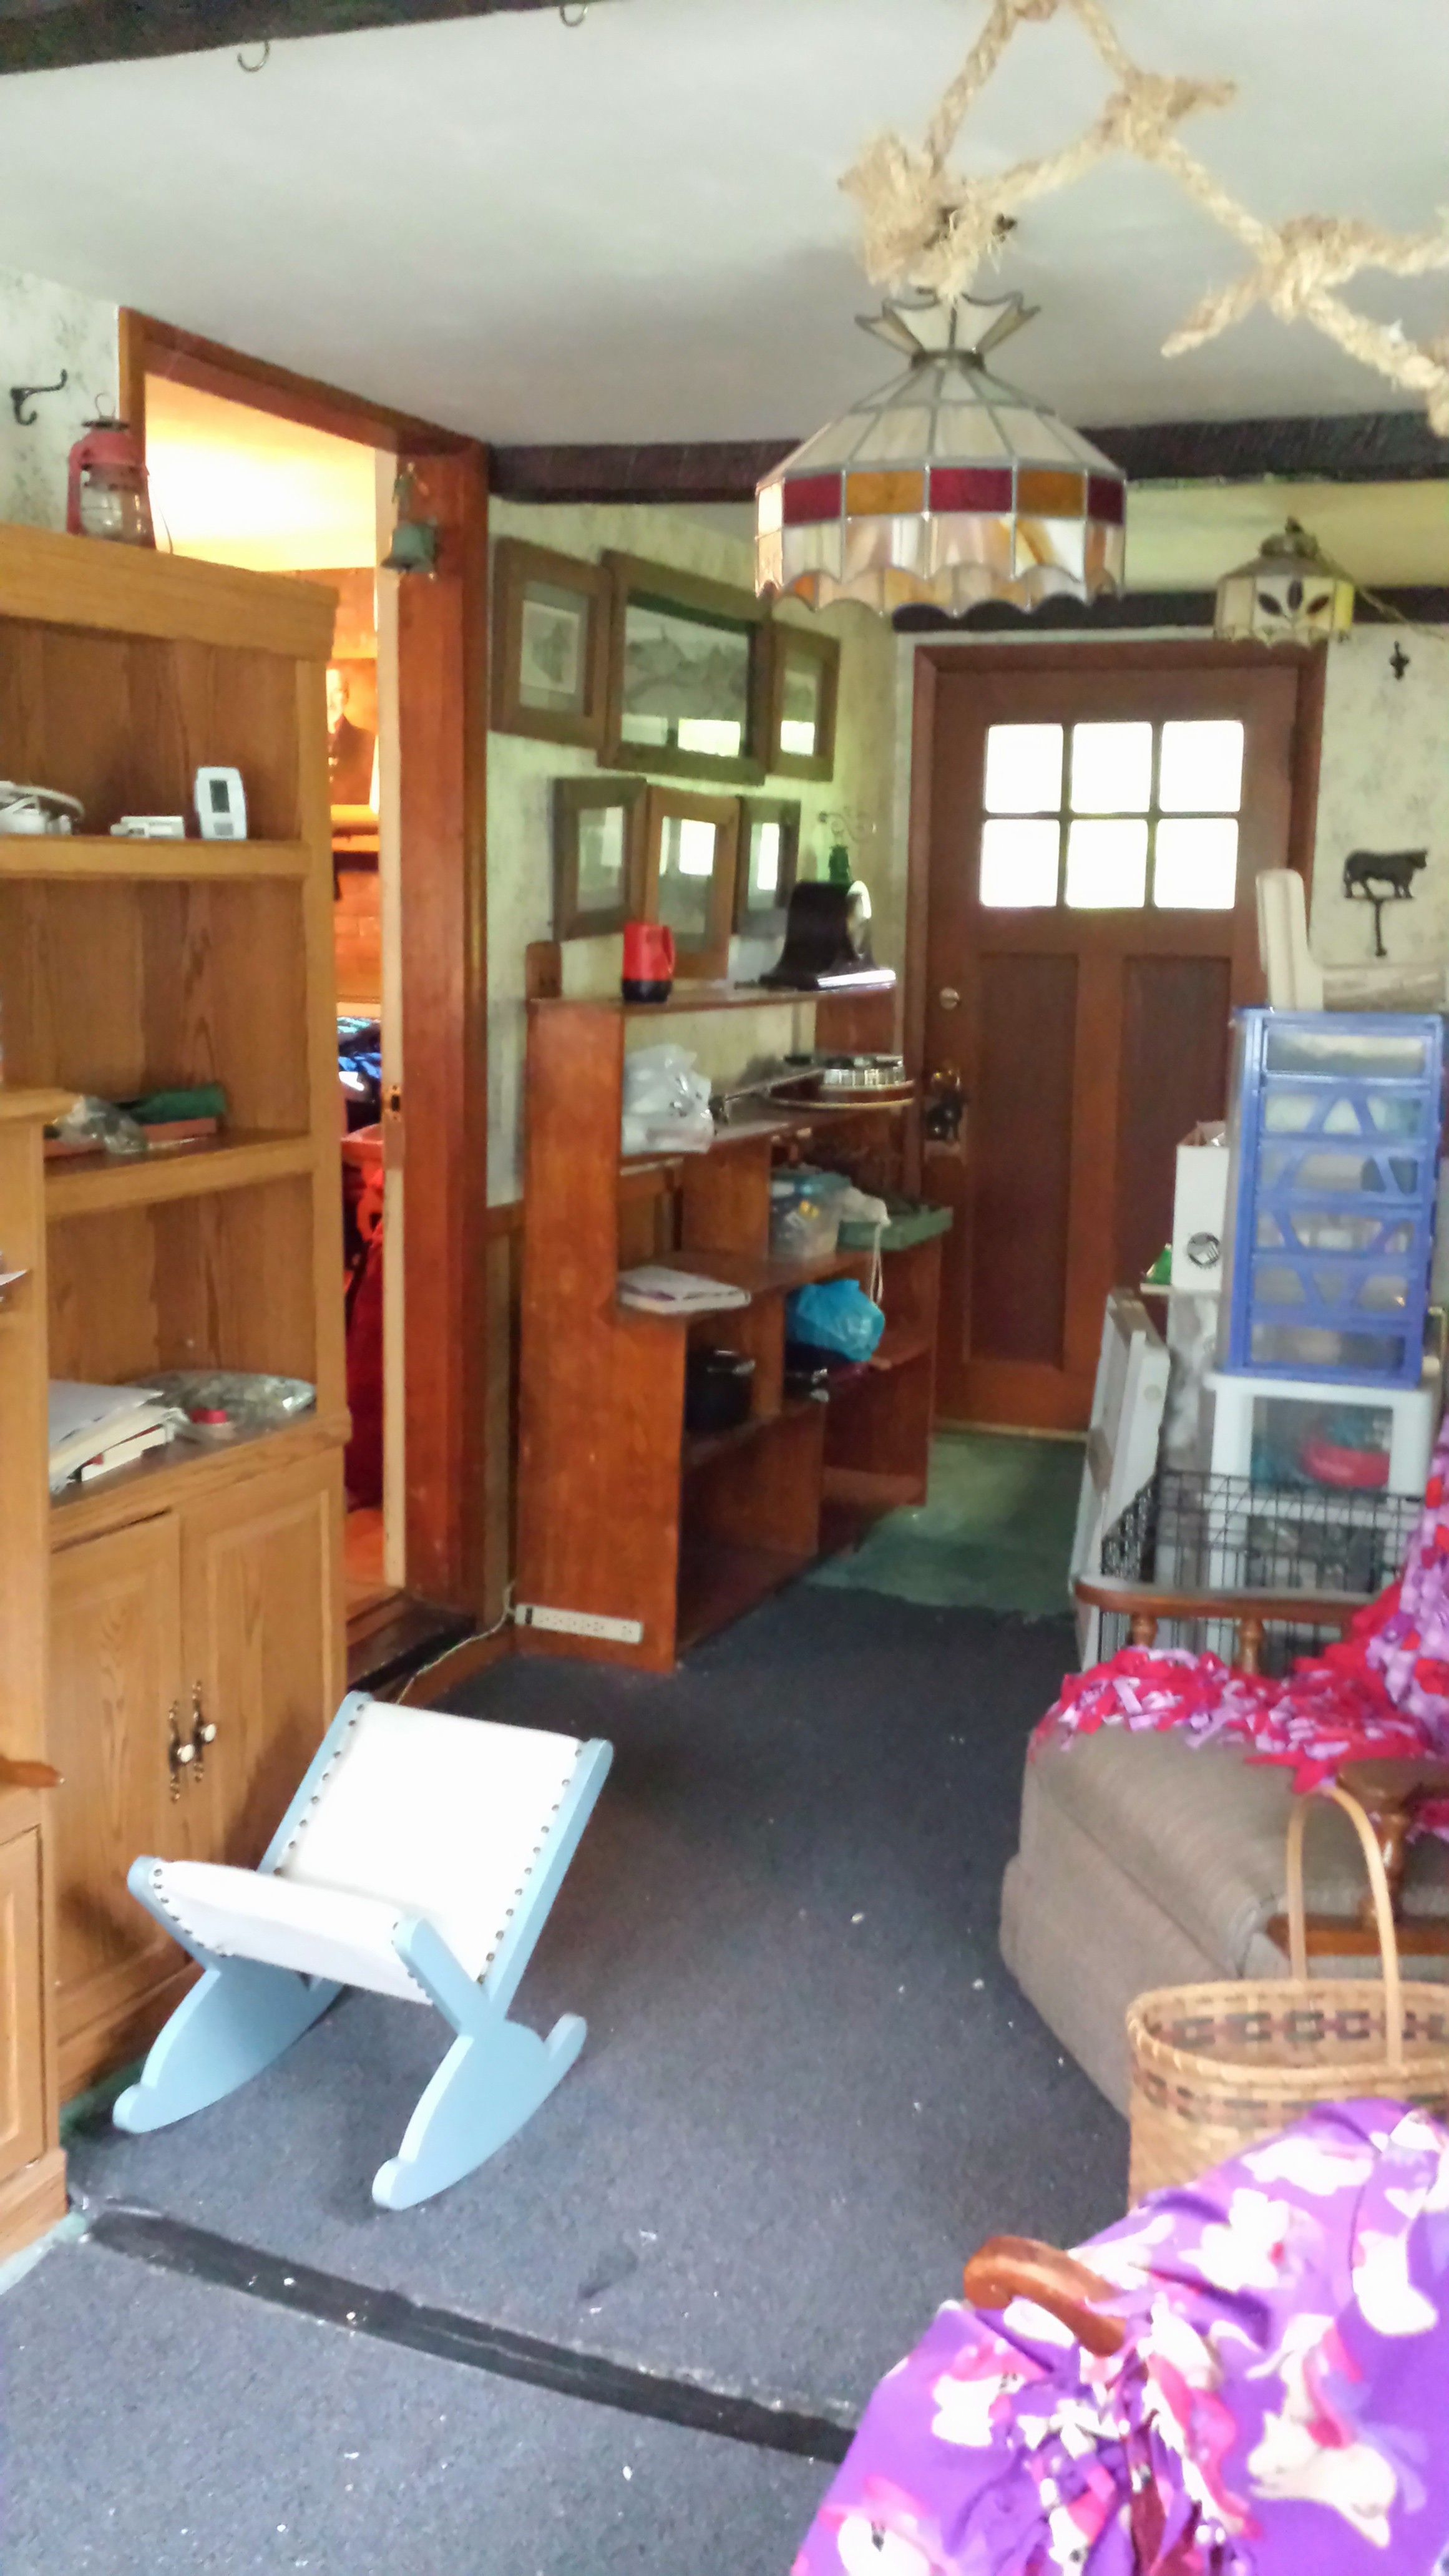
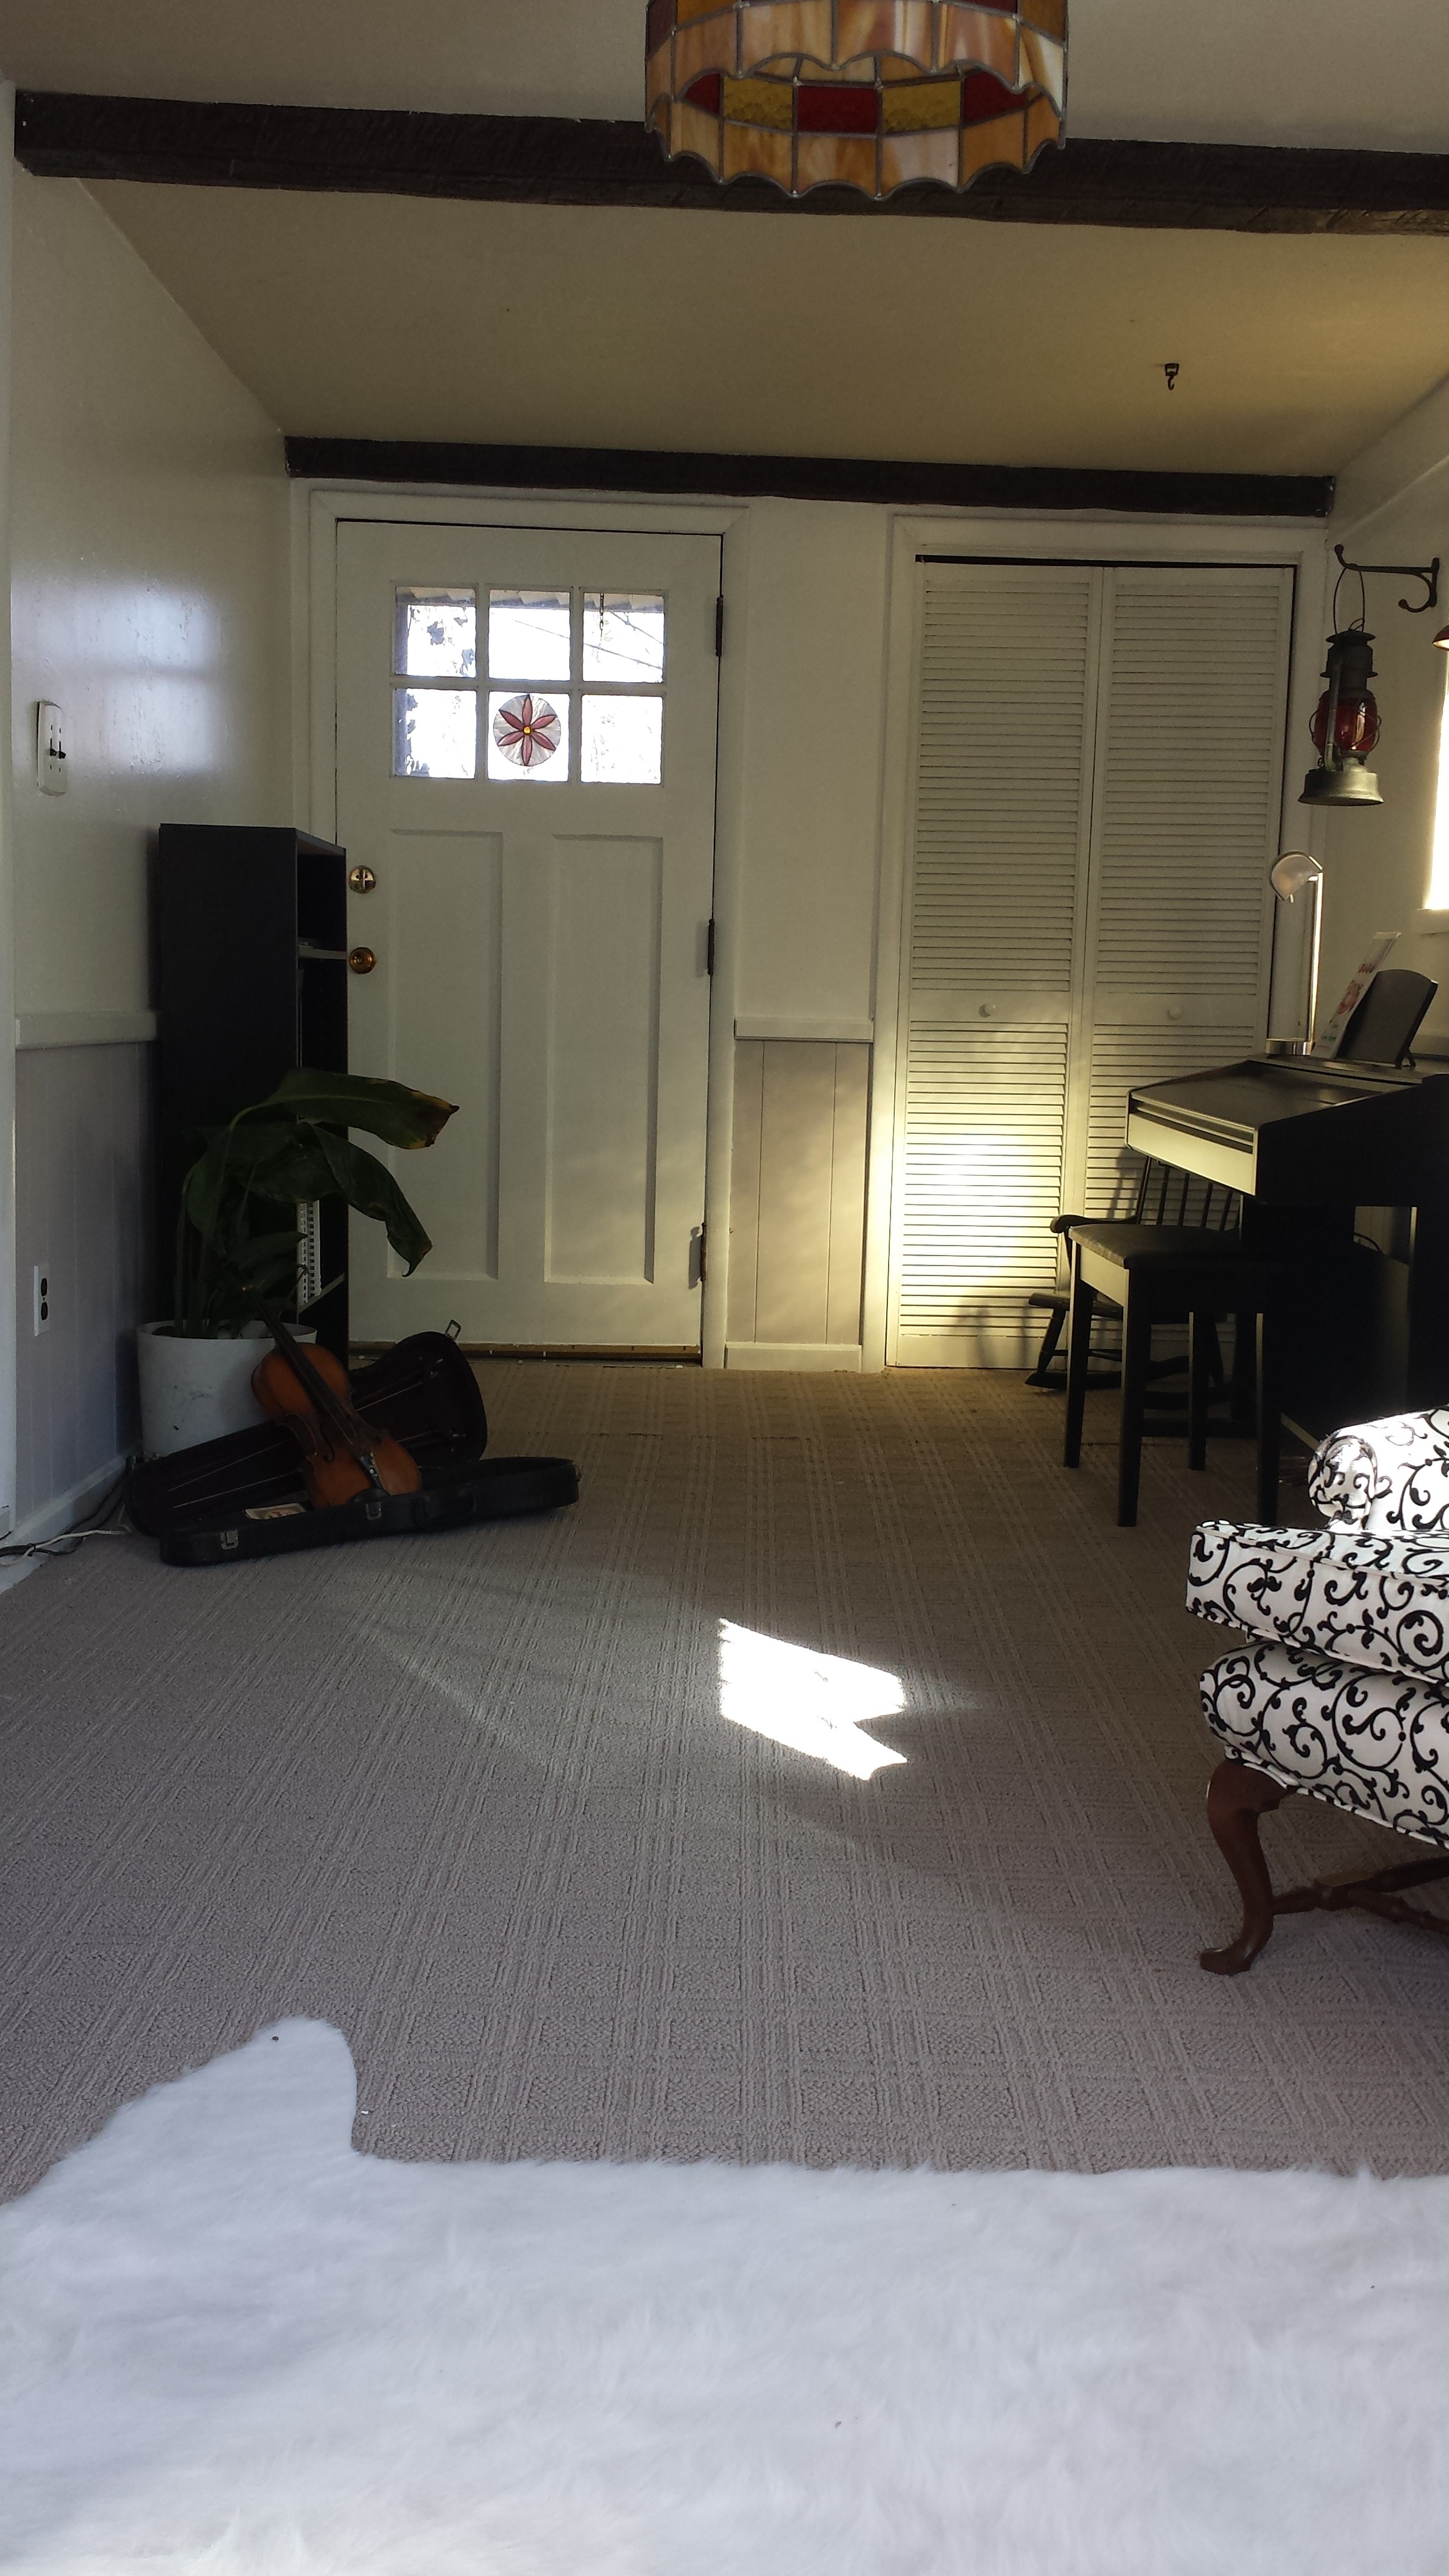
Andy left to take Lucy to hockey while I finished up, while Grace volunteered at the library. I am going to attach before and after photos of the entire room here so you can oooh and aaah! Next week I will start on what will be my living room. I will remove the carpet and wallpaper, polish the wood floor, strip the wood trim, and paint the upper walls. I will feature the half-mask respirator as well as poly gloves, and ToughChix gloves. I will again be using the paint brush and rollers from Construction Gear.

Leave a comment